Quick and dirty guide to connecting PyCharm to your instance. Aimed at advanced users.
#when you are not using an instance - stop it
Using SSH-Keys to Connect
Create SSH Key
We will create a key-pair of private and public keys. The private key will be used to connect to the instance, where the public key will be stores.
To create a key we need to invoke this at a terminal
ssh-keygen -t rsa -b 2048 -m pem -f ~/.ssh/cs231n
This will create two files, cs231n.pub and cs231n, with the former beind the public key and latter being the private one.
Following this, we want to copy the public key so we could use it with GCP. Do this by:
cat ~/.ssh/cs231n.pub
This will output the newly created key:
ssh-rsa AAASGASDASDNEAAAADAQABAAABAQDklaF5qQ/FTi9Fkfgk3tcB3sRyjSPbDQBmxEEYbM2umTuBZoUvAznASDt3fzpFLcKe3DTf3eY0xO9HG8xvUFtGFJwOyYzns59lXmK6iNWhZ4tF0BJgz7IScQ6NTkKVKxMzTQLdruDhLRBP6l+2FxMCU2Ar6s57uv8baerwgom+Z80cX62Lt+mrh50pH+czGSRi4ibAwQkJ5IePM7ncrhiqFmKzWGHxuWo4VRtQioZE3AbKdpaJv6f94SvINHo90AUV+58uwJjPPWchDLbAOkhMX7OatqGj/lVWTAnMXfvIYIsZxm8DEBS7UltATYOdtpapBtsE7T/zr9pGd4ghY21 user@Machine
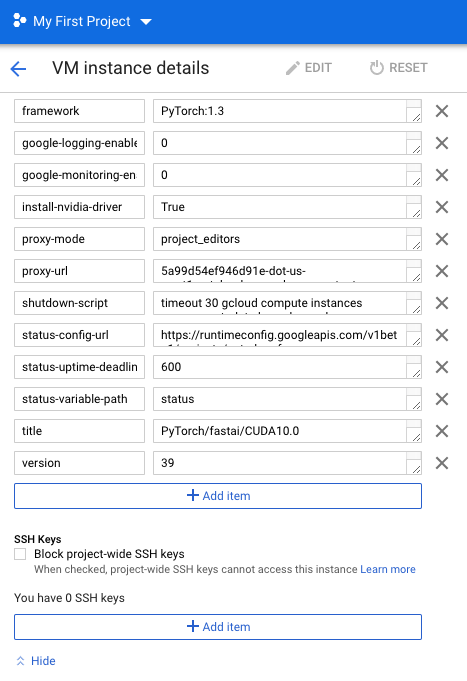
Copy this. Now, go into your instance list and click the instance you wish to connect to. Inside the instance screen hit Edit at the top. You don’t need to stop your instance for this part.
Once inside the Edit screen, locate the SSH key part:
And paste the public key you have copied like below:
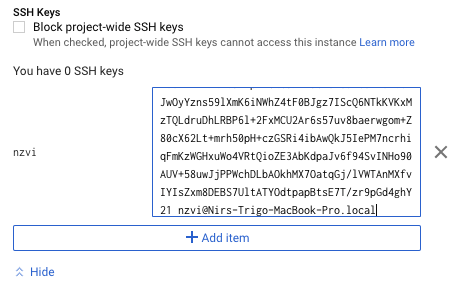
Done! Click Save and we are ready to go. Updating might take a few moments.
Use The Key With The Instance
To connect to the instance using the newly created key - invoke:
ssh -v -i "~/.ssh/cs231n" $USER@34.82.208.53
Assuming the process worked, you will now be inside the instance. We are doen with this part. Note that you can generally use this method in the future instead of Google gcloud CLI.
PyCharm
Create a Deployment Config
Go into PyCharm and create a new project. No go into Tools->Deployment->Configurations and click the plus button to create a new SFTP config. In that window, enter the username, instance IP address and the path to the private key that we created earlier. Should look like this:
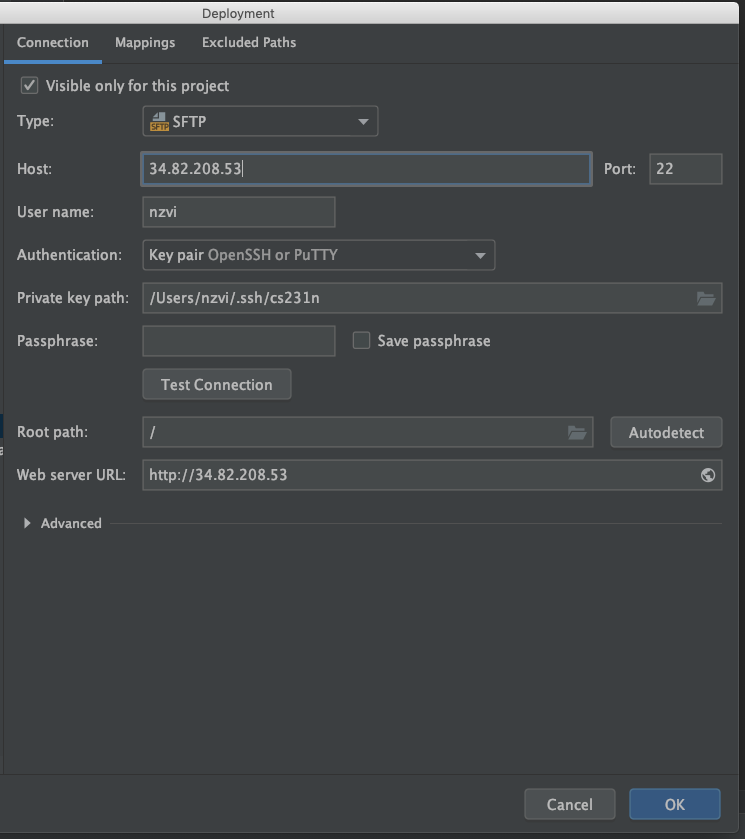
Assuming you did everything correctly, you should be able to log into the instance by clicking Test Connection.
Create a Remote Interpreter
So far we have defined a constantly updating remote directory, but we want to be able to also run the remote system’s Python directly from PyCharm. To do this, go into Preferences->Project->Project Interpreter.
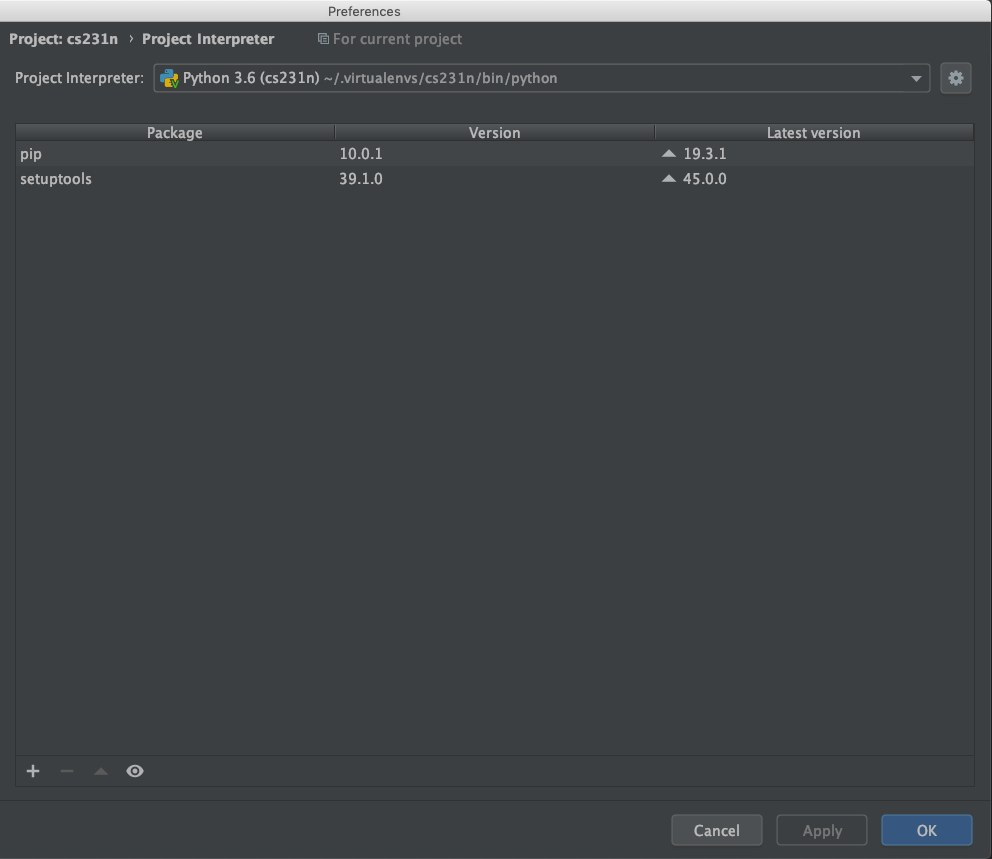
Click the cogwheel at the top right and a new window will open.
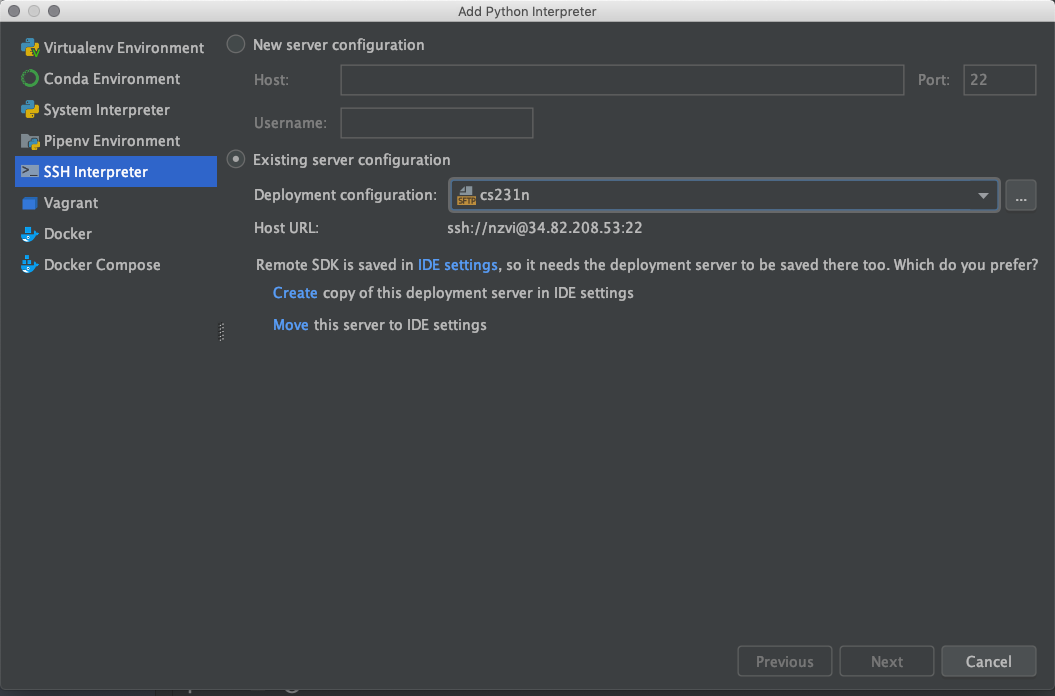
Choose SSH Interpreter and use the existing configuration we have created before. When prompted to either Move or Create a copy, click Move and his Next.
In the next screen you will need to input the remote conda python interpeter. The default is the system python which we don’t want to use as it lacks the necessary libraries we have installed before. The conda python path is usually /opt/anaconda3/bin/python.
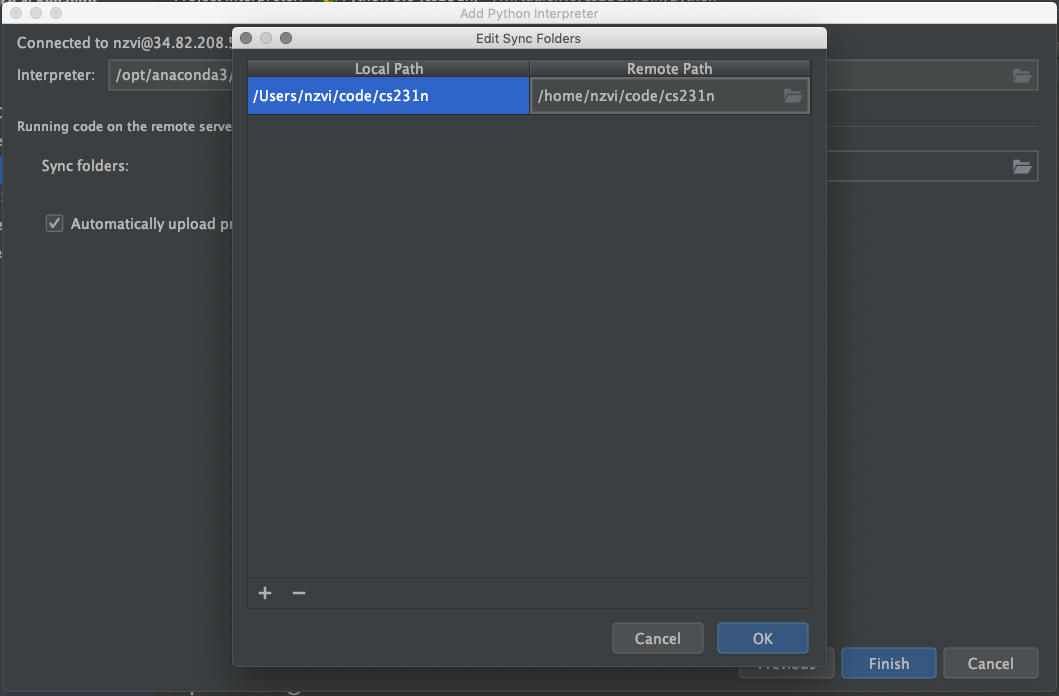
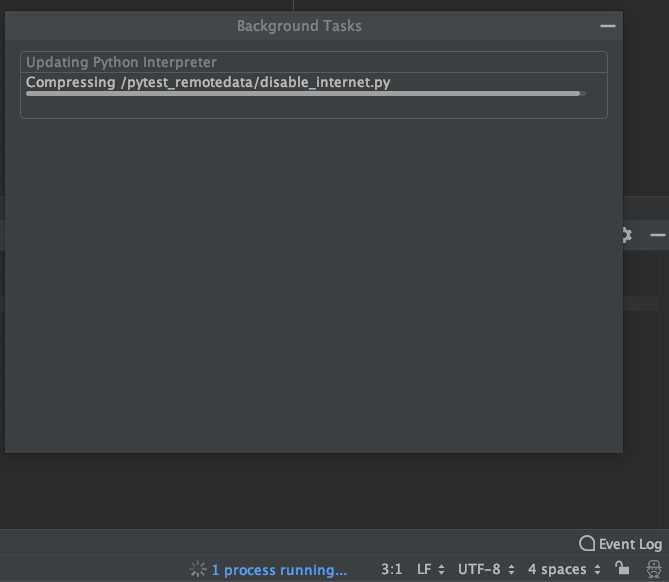
Next, you’ll need to input the mappings from this project to the remote path. Once you are done with this, hit Finish. PyCharm will take some time to upload some necessary files to the server, called PyCharm Helpers.
Running a Script From The Instance
You can now create a new .py file and test it. I used the following code:
import subprocess
subprocess.run(["hostname"])
This should print your remote system’s hostname. We are done!